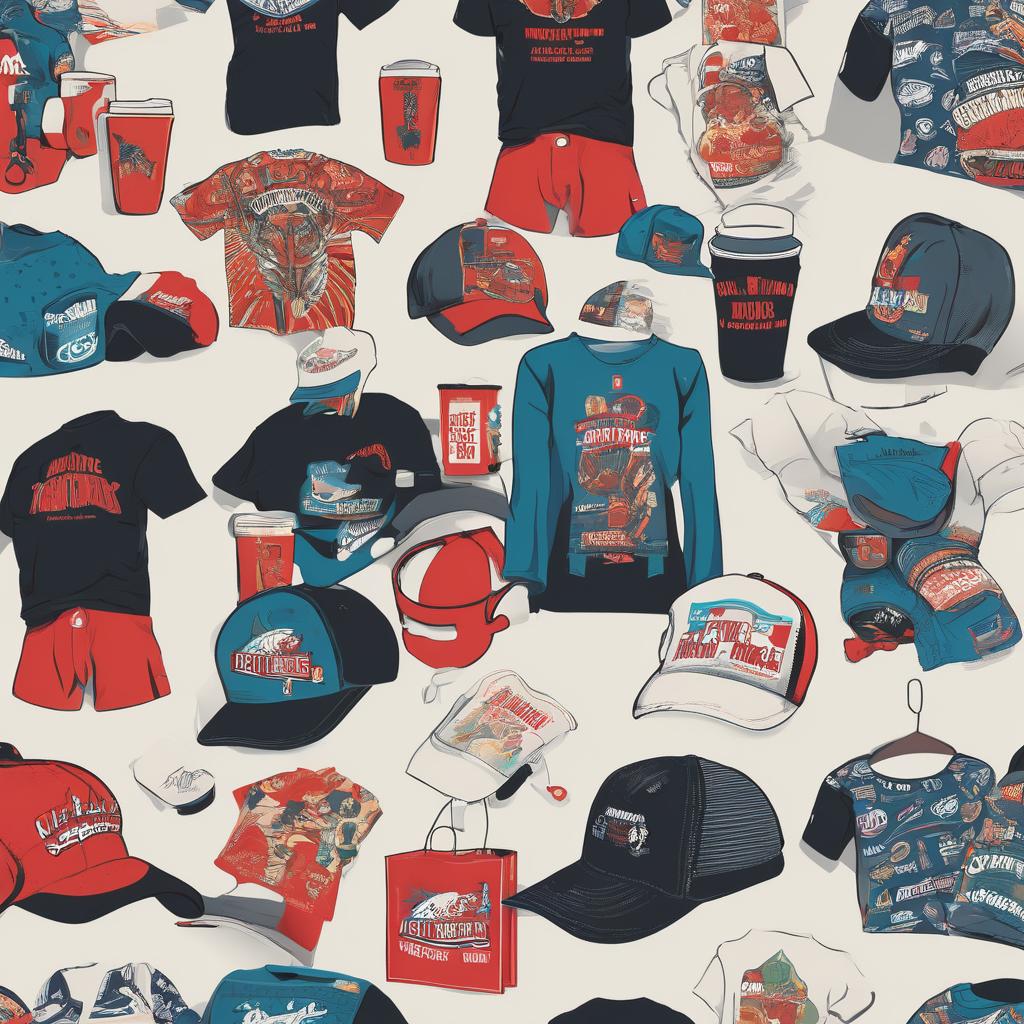
Are you looking to add a personal touch to your merchandise or perhaps start your own custom printing business? Custom merchandise printing offers a creative and lucrative opportunity to showcase your designs or promote your brand. In this comprehensive guide, we’ll walk you through the process of custom merchandise printing, from designing your products to bringing them to life.
Understanding Custom Merchandise Printing
What is Custom Merchandise Printing?
Custom merchandise printing involves creating unique designs and transferring them onto various items such as T-shirts, mugs, bags, and more. Whether you’re an artist looking to showcase your work or a business owner aiming to promote your brand, custom printing allows you to personalize products according to your preferences and needs.
The Appeal of Custom Merchandise
Custom merchandise holds a special appeal for individuals and businesses alike. For consumers, custom products offer a way to express their individuality and support causes or brands they believe in. For businesses, custom merchandise serves as a powerful marketing tool, helping to increase brand visibility and create a loyal customer base.
Getting Started with Custom Merchandise Printing
Step 1: Define Your Niche and Audience
Before diving into custom merchandise printing, it’s essential to define your niche and target audience. Consider who your products are designed for and what unique value proposition you offer. Are you targeting music enthusiasts, fitness buffs, or pet lovers? Understanding your audience will help you tailor your designs and marketing efforts effectively.
Step 2: Design Your Products
Once you’ve identified your niche and audience, it’s time to unleash your creativity and start designing your products. Whether you’re creating original artwork or designing promotional materials for your business, there are numerous design tools and software available to bring your ideas to life. Experiment with colors, fonts, and graphics to create visually appealing designs that resonate with your audience.
Step 3: Choose Your Printing Method
When it comes to custom merchandise printing, there are several printing methods to choose from, each offering unique advantages and results:
- Screen Printing: Ideal for large orders and designs with few colors, screen printing offers vibrant and long-lasting prints.
- Direct-to-Garment (DTG) Printing: Perfect for intricate designs and small batch orders, DTG printing produces high-quality prints directly onto fabric.
- Heat Transfer Printing: Suitable for small-scale production and multi-colored designs, heat transfer printing involves transferring designs onto items using heat and pressure.
Consider your budget, order volume, and desired print quality when selecting the right printing method for your custom merchandise.
Step 4: Source Your Materials and Equipment
Once you’ve finalized your designs and chosen your printing method, it’s time to source your materials and equipment. Depending on your printing method, you’ll need items such as blank T-shirts, mugs, bags, printing ink, screens, and heat transfer paper. Research reputable suppliers and invest in high-quality materials and equipment to ensure the best results for your products.
Bringing Your Designs to Life
Step 5: Set Up Your Printing Space
Create a dedicated printing space where you can work comfortably and efficiently. Make sure you have ample space for your equipment, materials, and finished products. Consider factors such as lighting, ventilation, and storage to optimize your printing environment.
Step 6: Test Your Designs
Before printing your designs on a large scale, it’s essential to test them to ensure they meet your quality standards. Experiment with different printing techniques, colors, and materials to identify any potential issues or areas for improvement. Solicit feedback from friends, family, or potential customers to gauge their reactions and make adjustments as needed.
Step 7: Print and Promote Your Products
With your designs perfected and materials in hand, it’s time to start printing your custom merchandise. Whether you’re printing T-shirts, mugs, or bags, follow the printing instructions carefully to achieve the best results. Once your products are ready, it’s time to promote them to your target audience. Utilize social media, email marketing, and word-of-mouth referrals to showcase your products and attract customers.
Step 8: Provide Excellent Customer Service
Last but not least, provide excellent customer service to ensure a positive experience for your customers. Respond promptly to inquiries, address any issues or concerns, and go the extra mile to exceed your customers’ expectations. Building strong relationships with your customers will lead to repeat business and positive word-of-mouth recommendations, helping your custom merchandise printing venture thrive.
Conclusion
Custom merchandise printing offers a creative and rewarding opportunity to showcase your designs, promote your brand, or express your individuality. By following the steps outlined in this guide, you can embark on your custom printing journey with confidence, creating unique and personalized products that resonate with your audience. So roll up your sleeves, unleash your creativity, and let the printing begin!


